
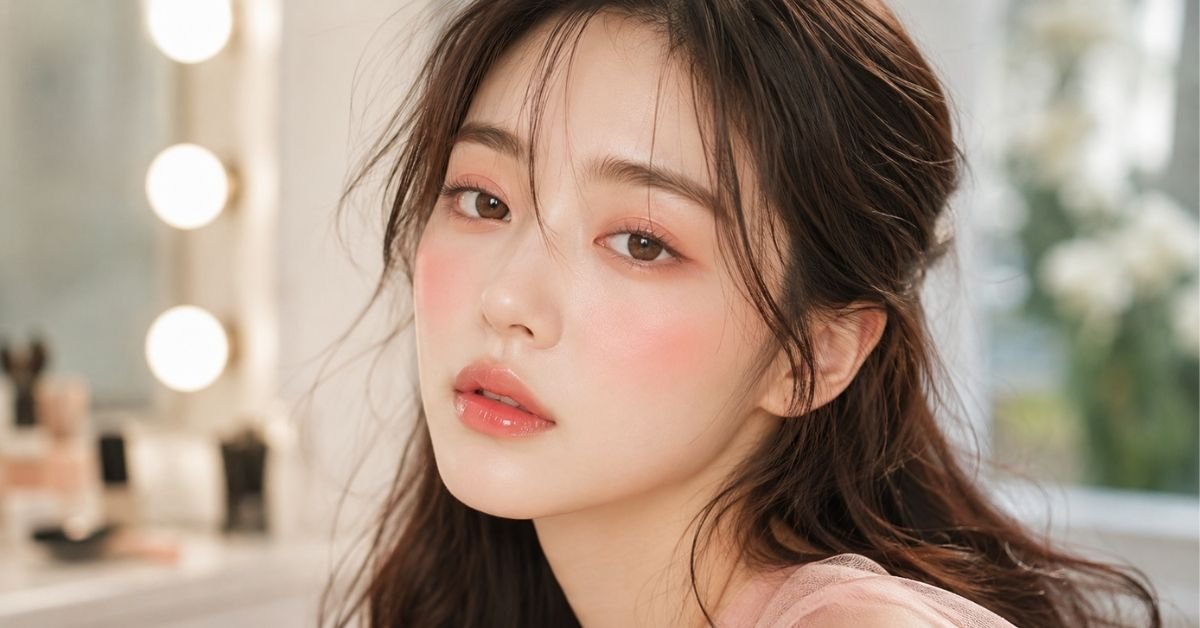
Igari Makeup: 9 Ways To Add Fresh Flushed Radiance
Master igari makeup with our complete guide. Learn the Japanese hangover blush technique, product tips, and application secrets for a youthful glow daily.
Understanding Igari Makeup
When I first discovered igari makeup, I was instantly drawn to its soft, fresh, and youthful appearance. This popular Japanese beauty trend focuses on creating a natural-looking flush by placing blush in a unique way that gives the skin a healthy, rosy glow. Created by Japanese makeup artist Igari Shinobu, Igari makeup completely changed the way I think about blush and natural beauty.
Many people also call igari makeup “hangover makeup” or “drunk blush” because it recreates the gentle redness that naturally appears on the face after drinking. Even though the name sounds playful, the finished look is elegant, soft, and incredibly flattering.
Instead of relying on heavy contouring or dramatic definition, igari makeup embraces a minimalist approach with glowing skin and subtle color. I love how this style enhances my features without making my makeup feel overdone. It creates a cute, fresh aesthetic that looks effortless while still feeling polished.
The Philosophy Behind Igari Makeup
What I love most about igari makeup is the beautiful philosophy behind it. Instead of focusing on heavy coverage, sharp contouring, or dramatic transformations, this technique encourages me to enhance my natural features. The goal isn’t to look like someone else—it’s to look like the best version of myself.
I’ve noticed that igari makeup reflects the Japanese approach to beauty by embracing softness, balance, and natural radiance. Rather than hiding my features, it helps me highlight them subtly and effortlessly.
I also appreciate how simple igari makeup is compared to more complex makeup trends. It doesn’t require layers of heavy products, yet it still looks beautiful in person and photographs wonderfully. For anyone who loves a feminine, authentic, and effortlessly elegant style, igari makeup offers a refreshing alternative to bold, full-coverage looks.
| Technique Element | Traditional Makeup | Igari Approach | Result |
| Coverage | Full coverage | Sheer minimal | Natural skin |
| Blush Placement | Cheek apples | Under eyes and nose | Youthful flush |
| Finish | Matte sculpted | Dewy glowing | Fresh radiance |
| Eye Makeup | Defined dramatic | Soft minimal | Innocent look |
| Overall Effect | Transformed | Enhanced | Authentic beauty |
Essential Products for Igari Makeup
When I create igari makeup, I always choose products with lightweight formulas that blend naturally into my skin. My go-to essentials include:
- Cream or liquid blush for a soft, seamless flush.
- Soft pink or peach blush shades that complement my natural undertones.
- A BB cream or skin tint instead of a full-coverage foundation for a fresh, natural base.
To finish my IG makeup, I use a dewy setting spray to maintain a luminous glow and a tinted lip balm or gloss for a subtle touch of color. Using the right products makes achieving authentic igari makeup much easier.
Step-by-Step Application Guide
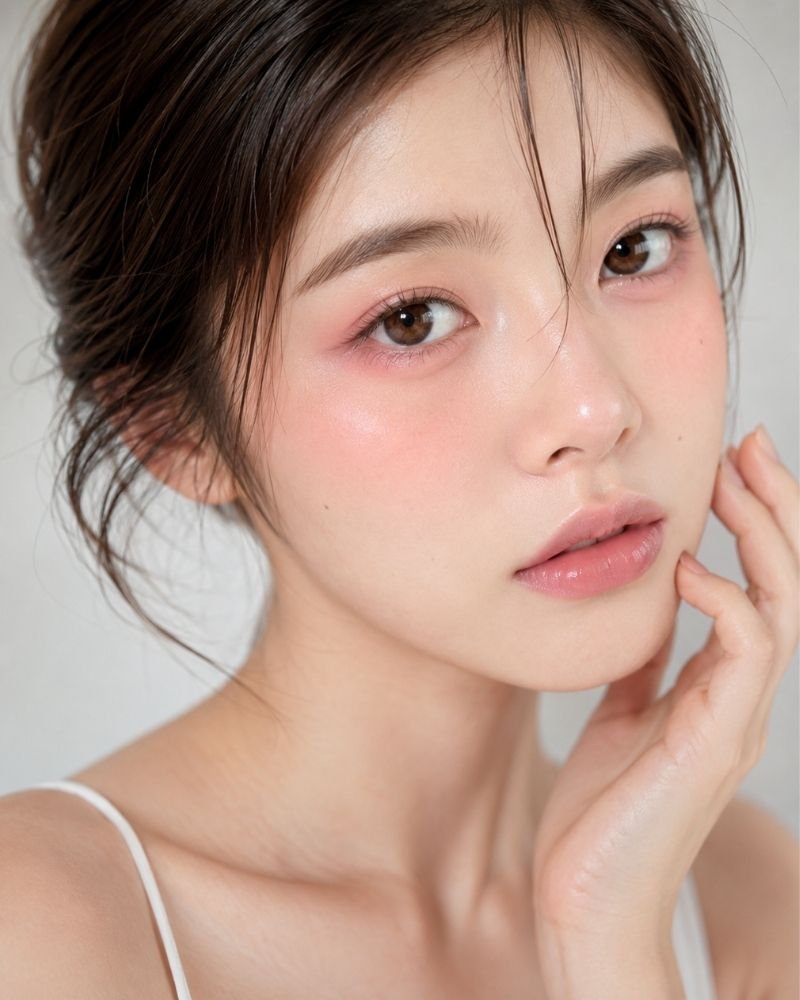
When I apply igari makeup, I keep the process simple and focus on soft, natural-looking layers. I follow these steps:
- I start with well-moisturized skin to create the dewy base this look is known for.
- I apply a sheer foundation or BB cream only where I need it.
- I use a small amount of concealer on areas like my dark circles instead of covering my entire face.
- I apply cream blush high on my cheeks, just below my eyes.
- I blend the blush across the bridge of my nose to connect both cheeks.
- I lightly sweep a little blush onto my eyelids for a soft monochromatic effect.
- I blend everything thoroughly, keeping the color diffused and natural rather than overly bold.
Following these steps helps me achieve soft, authentic igari makeup every time.
Blush Placement Techniques
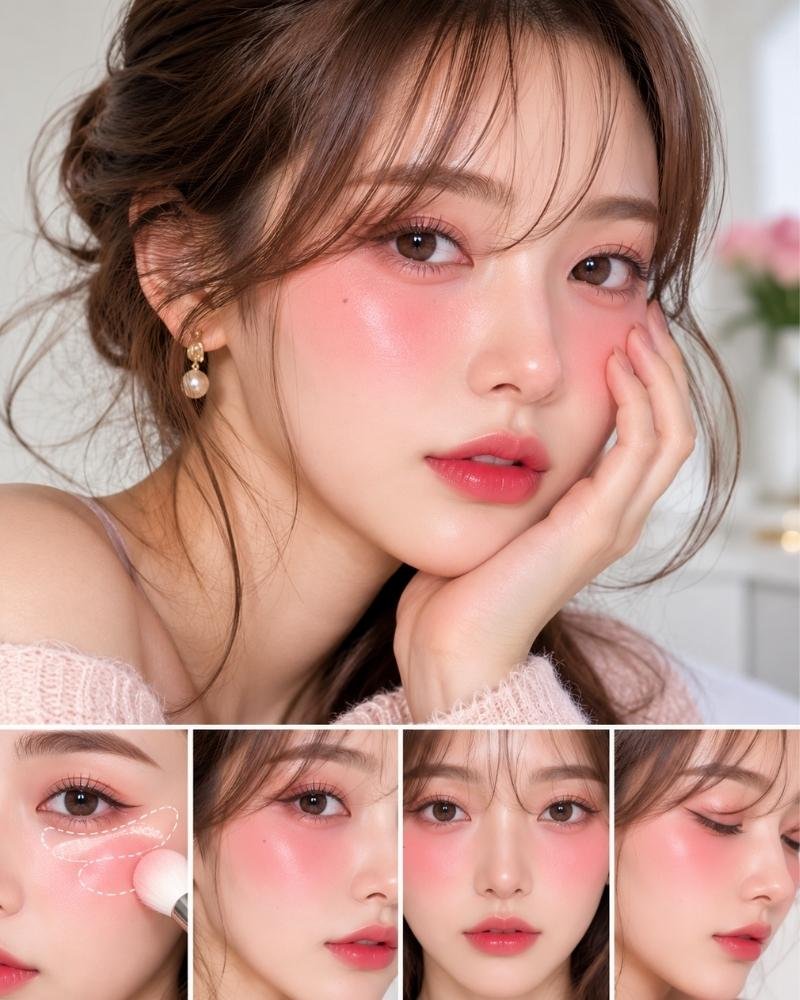
The signature part of igari makeup is the unique blush placement just under the eyes. I start by dotting cream blush along my cheekbones, close to the inner corners of my eyes. Then, I use my fingers or a damp sponge to blend the color gently upward toward my temples.
I also sweep a little blush across the bridge of my nose to connect both cheeks. This creates the soft, horizontal flush that makes igari makeup so recognizable.
I always blend everything well so there are no harsh lines or obvious edges. Instead of applying too much at once, I build the color gradually until I achieve a natural-looking flush. This simple technique gives igari makeup its fresh, youthful, and innocent appearance.
| Application Step | Tool | Motion | Coverage |
| Initial Placement | Fingertips | Dotting | Light |
| Cheek Blending | Sponge | Upward | Diffused |
| Nose Bridge | Finger | Sweeping | Sheer |
| Temple Area | Sponge | Outward | Faded |
| Eye Area | Fingertip | Tapping | Minimal |
Creating the Dewy Finish
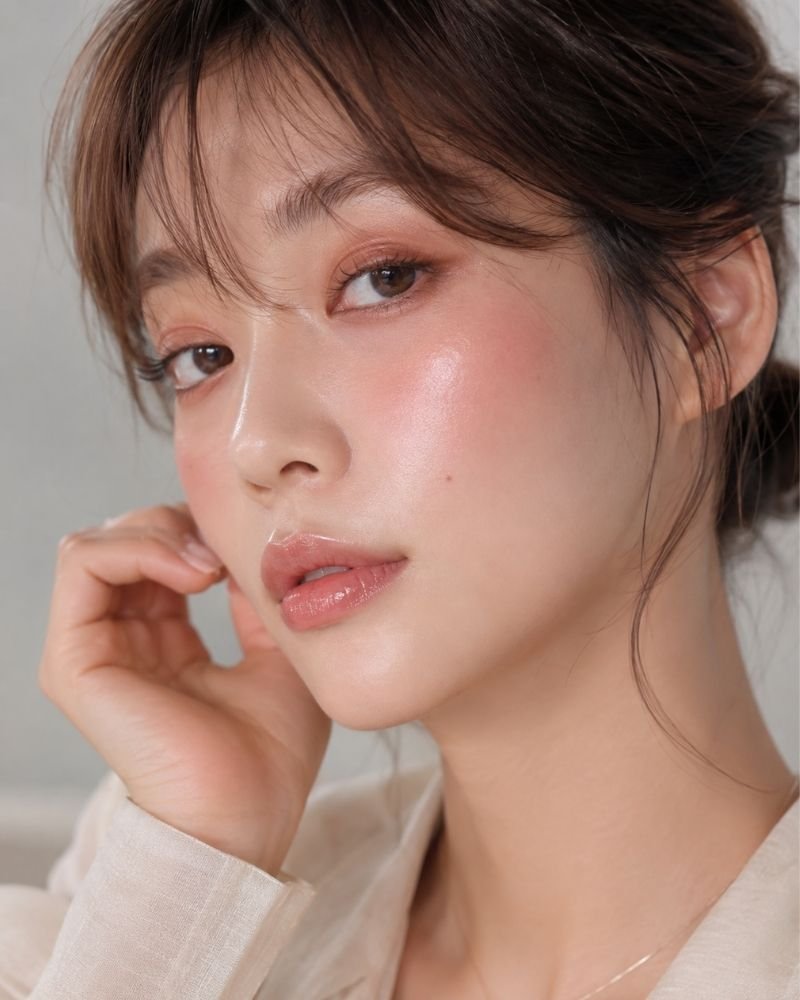
A soft, dewy glow is one of the most important parts of igari makeup. I avoid using too much powder because it can take away the luminous finish I’m trying to achieve. Instead, I use a hydrating setting spray to keep my IG makeup in place while maintaining a fresh, radiant look.
Sometimes, I add a little liquid highlighter to the high points of my face for extra dimension. I want my skin to look naturally plump and hydrated, not oily or greasy.
Good skincare preparation also plays a big role. If I want an even more luminous base, I mix a drop of facial oil with my foundation. The goal is always to create healthy-looking skin, so the flushed cheeks in myIGi makeup appear soft, natural, and effortless.
Eye and Lip Application
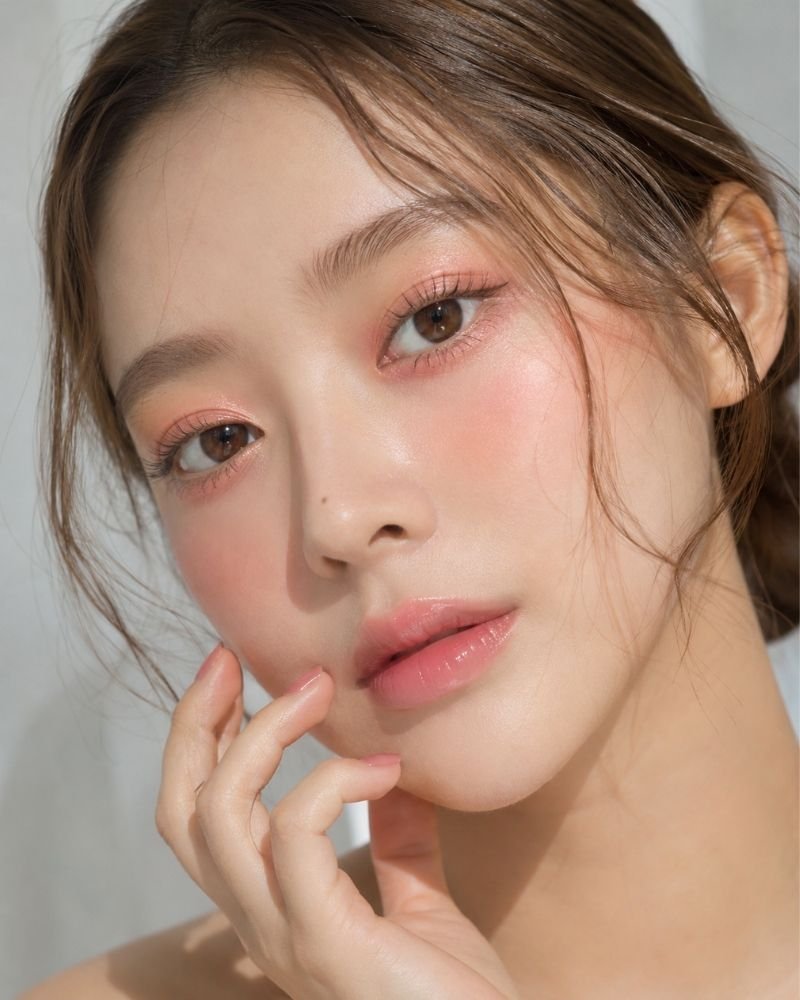
For igari makeup, I keep my eyes and lips simple so the blush remains the main focus. I lightly sweep the same blush across my eyelids to create a soft, monochromatic look. I also skip dramatic eyeshadow, bold eyeliner, and false lashes, choosing just one coat of brown or black mascara for gentle definition.
To finish my igari makeup, I wear a tinted lip balm or a sheer gloss in a shade that complements my blush. I avoid bold lipsticks and heavy lip liner because they don’t match the soft, innocent aesthetic. If I want a little more color, I use the gradient lip technique by concentrating the color in the center of my lips. The final look feels naturally pretty, romantic, and effortless.
Adapting for Different Skin Tones
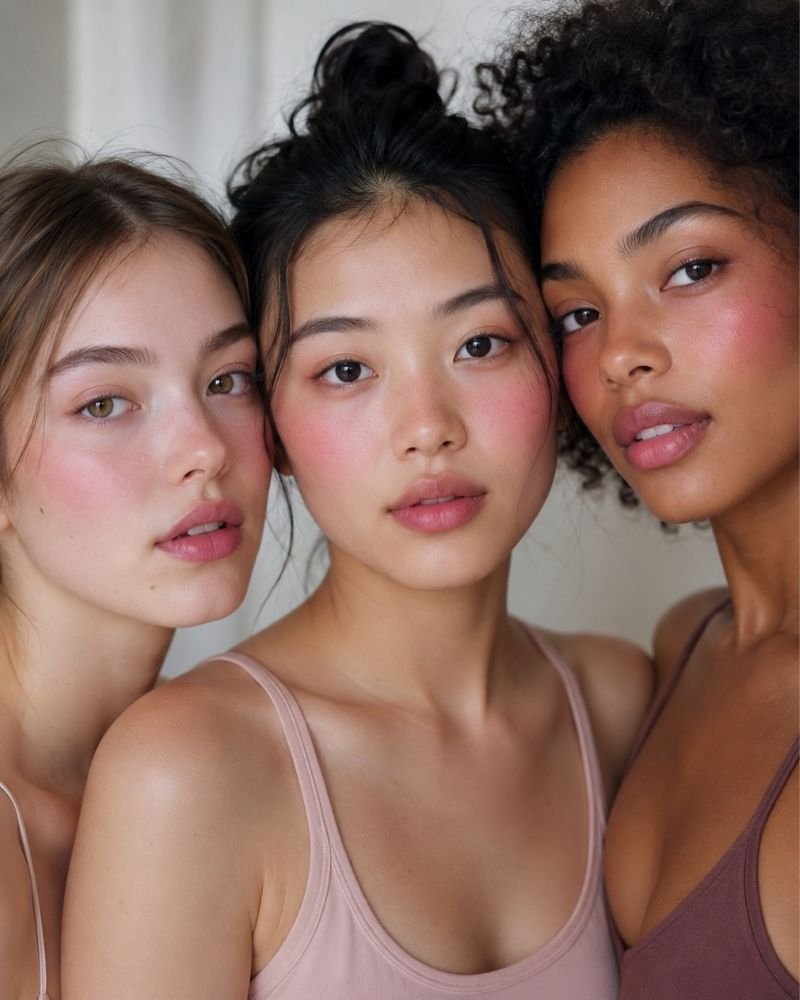
One of the things I like most about igari makeup is that it looks beautiful on every skin tone. If I have fair skin, I reach for soft pink or peach blush shades. For medium skin tones, coral and rose shades work beautifully, while deeper skin tones look stunning with berry or mauve blush.
The key is choosing shades that match my natural flush instead of working against it. I always test blush on my cheeks rather than my hand because it gives me a much more accurate idea of how it will look.
Sometimes I adjust the intensity depending on my skin tone, but the igari makeup technique stays the same. Only the blush shade changes, making this trend flattering and easy to adapt for everyone.
Common Application Mistakes
When I first started trying igari makeup, I realized that using too much blush was one of the easiest mistakes to make. Instead of applying a lot at once, I start with a small amount and build the color gradually until I get a soft, natural-looking flush. I also prefer cream blush because it blends much more seamlessly than powder.
Another mistake I avoid is skipping skincare. Well-moisturized skin creates the dewy base that igari makeup is known for. I also make sure to place my blush high under my eyes instead of lower on my cheeks, since that signature placement defines the entire look. It may feel unusual at first, but with a little practice, applying igari makeup becomes much more natural.
Occasions for Igari Makeup
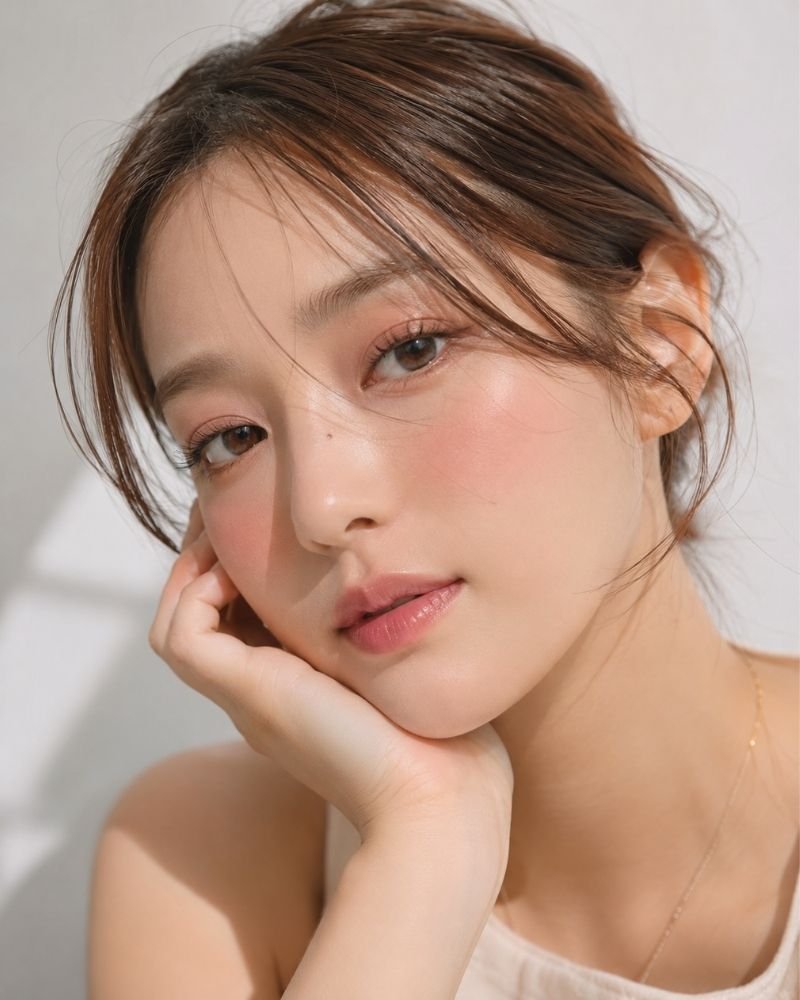
I like wearing igari makeup for casual occasions because it gives me a soft, fresh, and romantic look. It works beautifully for brunch dates, shopping trips, casual outings, and even taking selfies or social media photos. I also think igari makeup fits perfectly in creative workplaces and artistic events where natural beauty is appreciated.
When Igari Makeup Works Best
While I enjoy igari makeup for daytime activities, I wouldn’t usually choose it for formal corporate settings or evening events that call for bold, glamorous makeup. Its youthful and innocent style is better suited for occasions where I want to look naturally polished. Knowing when to wear igari makeup helps me make the most of this versatile beauty trend.
Maintaining Your Look
Keeping my igari makeup fresh throughout the day is easier than I expected. Since I use cream products, the color usually lasts longer and blends more naturally than powder formulas. I also avoid touching my face because it can disturb the soft finish and transfer natural oils.
To keep my igari makeup looking fresh, I usually:
- Use blotting papers to absorb excess oil without removing my blush.
- Carry my cream blush for quick touch-ups during long days.
- Refresh my look with a light mist of setting spray when needed.
With good-quality products and proper application, my igari makeup usually stays fresh for six to eight hours. Since the look is so minimal, maintaining it throughout the day is simple and doesn’t take much effort.
Conclusion
Learning igari makeup has shown me that soft, natural beauty can make just as much of an impact as bold makeup. This Japanese technique enhances my features with minimal, thoughtful application while creating a fresh, dewy, and youthful look that photographs beautifully.
For the best results, I start with good skincare and quality cream products. I focus on building a soft, diffused flush instead of applying too much color, and I trust the process as I get more comfortable with the unique blush placement.
The more I practice igari makeup, the more natural it feels. With the right technique and products, this beautiful trend offers a refreshing alternative to heavy makeup and reminds me that sometimes less really is more.
Frequently Asked Questions
Is I-garii makeup suitable for mature skin?
Yes! The igari makeup technique actually flatters mature skin beautifully when adapted properly. The dewy finish plumps fine lines while cream products blend seamlessly, naturally. Focus on hydration and gentle application rather than heavy coverage anywhere. Many mature women find this softer approach more flattering than dramatic contouring.
Can I wear this for professional settings?
The appropriateness depends on your specific work environment and dress code. Creative industries and casual workplaces typically welcome igari makeup enthusiastically today. Conservative corporate settings might require more traditional applications, unfortunately, though. Consider toning down the intensity for professional environments that always require polish.
What if I have oily skin?
Oily skin can absolutely wear igari makeup with proper preparation and products. Use an oil-controlling primer before applying any base products carefully throughout. Blotting papers throughout the day manages shine without disturbing your flush. Setting spray designed for oily skin helps maintain the look longer successfully.
How long does the application take?
Most women complete igari makeup in five to ten minutes once mastered. The minimalist approach requires fewer products and simpler techniques than traditional makeup. The time efficiency makes it perfect for busy mornings requiring quick results. Your speed improves significantly with regular practice and proper tools available.
Does this work on all face shapes?
Absolutely! The horizontal flush created by igari makeup flatters virtually all face shapes. The technique draws attention to the eyes and creates a youthful appearance universally. Some minor adjustments to placement might enhance results for specific features, though. The overall approach remains consistent, delivering beautiful results for everyone confidently.