
Scene Makeup: Guide To Rocking The 2000s Alternative Look
Master scene makeup with expert tips on raccoon eyes, graphic liner, and bold colors. Your complete guide to achieving the iconic alternative aesthetic.
Introduction
Remember the MySpace days when this aesthetic was everywhere? Well, scene makeup is back and better than ever. Scrolling through my TikTok and Instagram feeds lately, I’ve seen so many creators embracing this bold, unapologetic look that absolutely dominated the mid-2000s. But trust me, it’s about way more than just slapping on some black eyeliner and calling it a day.
This iconic style originally grew out of the alternative music scene, heavily tied to bands I used to blast on repeat like My Chemical Romance and Fall Out Boy. It was a true visual rebellion—a creative way to express ourselves through dramatic, high-contrast looks. The style beautifully blends elements of punk, emo, and glam rock into something uniquely fierce.
What I love most about scene makeup is just how customizable it is. You can go full-on intense or tone it down for an everyday look while keeping that alternative edge. No matter how you wear it, you’re making a statement. This guide covers everything you need to know to create an authentic look that actually looks incredible!
What Defines Scene Makeup
The Core Elements
This style has some pretty distinctive features. First off, there’s the famous “raccoon eyes”—that heavily lined, smudged black eyeshadow and liner look that circles the entire eye. Then you’ve got bright pops of color (think hot pink, electric blue, neon green) mixed in with all that black. And those dramatic false lashes that make your eyes pop from across the room.
| Scene Element | Key Features | Intensity Level |
| Raccoon eyes | Black liner circling entire eye, heavily smudged | High |
| Colorful accents | Bright eyeshadows (pink, blue, green) | Medium-High |
| Graphic liner | Bold wings, geometric shapes | High |
| False lashes | Dramatic, spidery effect | Medium-High |
The whole vibe is about being noticed. Unlike natural makeup that tries to look like you’re not wearing much, scene makeup is intentionally dramatic. It’s supposed to look like you spent time on it—because you did, and you’re proud of that effort.
How It Differs From Emo Makeup
People often confuse this with emo makeup, but they’re different. Emo tends to stick mostly to blacks and dark colors, with maybe a hint of red. It’s more somber and monochromatic. Scene, on the other hand, loves color—hot pinks, bright purples, electric blues. The application is different, too, with scenes going harder on sharper lines and bolder colors.
Essential Products For Scene Makeup
Eye Products You Actually Need
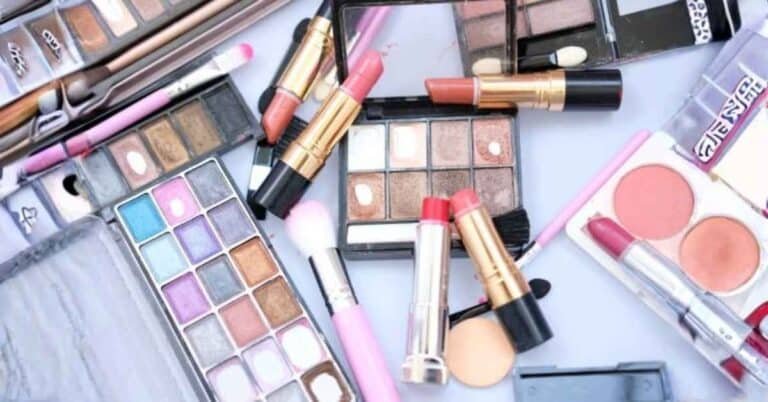
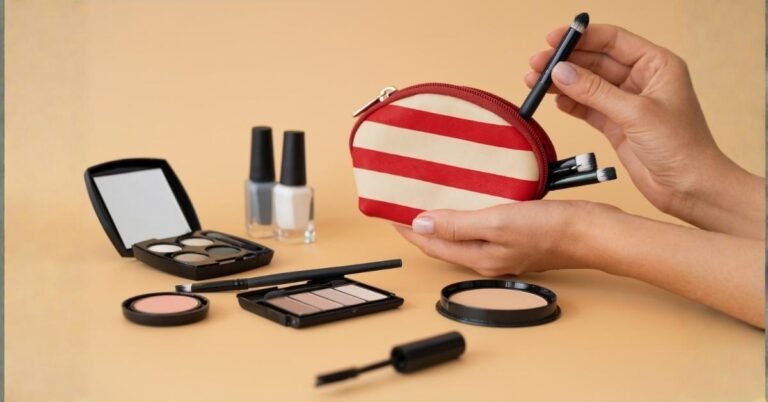
Let’s talk about what you really need. Black eyeliner is non-negotiable—and we’re talking about the good stuff that stays put. I always recommend waterproof gel or liquid liners because they are super pigmented and won’t budge once they set (unless you purposefully smudge them first).
Must-Have Eye Products:
- Black gel or pencil eyeliner (waterproof)
- Bright eyeshadow palette with neons
- Black eyeshadow for smoking out
- Dramatic false lashes
- White or nude liner for waterline
- Setting spray made for heavy looks
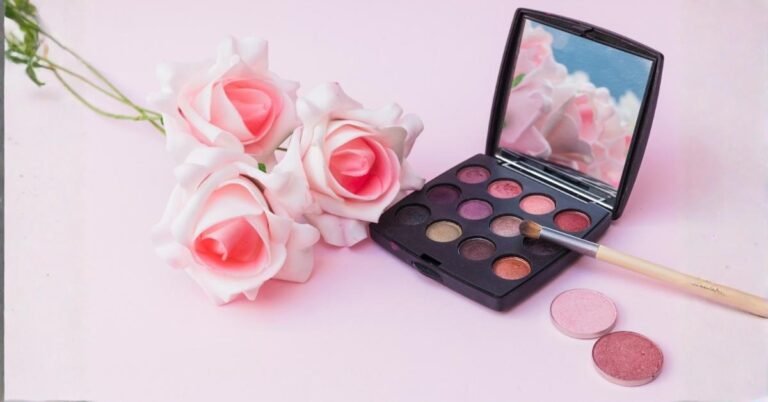
For eyeshadows, you need a palette with serious color payoff for scene makeup. You’ll want at least hot pink, electric blue, and maybe lime green or purple—the brighter, the better for achieving that authentic scene makeup aesthetic.
Face and Lip Essentials
The face is usually kept simple because all the action happens in the eyes. You want a good foundation that matches your skin. A decent concealer helps cover any blemishes and makes those eye colors pop.
For lips, it’s flexible. Black lipstick is a classic choice, especially for more intense looks. But light pink glosses or nude lips work too. With such dramatic eyes, you don’t want to go crazy on the lips unless you’re specifically going for that over-the-top vibe.
The Signature Raccoon Eyes Technique
Step-By-Step Process
Mastering the Iconic Raccoon Eyes Look
Let’s get into the absolute most iconic part of the entire look—the raccoon eyes. In my experience, this specific technique is exactly what makes or breaks your scene makeup. Because you’re layering a lot of dark, heavy pigment, I always start with a high-quality eye primer to keep everything from sliding around or creasing later in the day.
First, I take a creamy black eyeliner and line my entire eye, making sure to fill in both the upper and lower waterlines. I connect the upper and lower lines right at the outer corner. Don’t worry about being perfectly precise here—we are going to smudge this out anyway. The real goal is just getting a solid, unbroken ring of black entirely around the eye.
Next, I grab a dark black eyeshadow and a dense packing brush. Starting at the outer corner, I pat that shadow directly over the liner to lock it in, and then I start blending the edges outward. You want to create a smoky, slightly messy effect—this is exactly where scene makeup gets that signature grunge, alternative feel.
Quick Raccoon Eyes Breakdown
- Line your entire waterline: Fill in both the top and bottom waterlines completely.
- Connect at the outer corners: Ensure the upper and lower lines meet to create a continuous ring.
- Pack black shadow over the liner: Lock the cream formula down with a powder shadow.
- Smudge and blend upward: Soften the edges for that blown-out, smoky look.
- Focus intensity at the lash line: Keep the darkest pigment closest to your eye for maximum depth.
- Add a bright color accent: Finish with a high-contrast pop of color.
For that essential finishing touch, I love to add a vivid pop of bright color—like a neon hot pink or electric blue—right onto the inner corners or just above the edges of that black shadow. This sharp contrast is exactly what makes scene makeup so incredibly eye-catching. Once your shadow is blended to perfection, pile on those dramatic false lashes. The bigger, longer, and spikier they are, the better! What makes scene makeup so eye-catching? Hot pink or electric blue works great here. Then pile on those false lashes—the more dramatic, the better.
Common Mistakes To Avoid
Using too light a black color is easily the biggest mistake I see when people try to recreate this look. If the shadow isn’t deeply pigmented, it just ends up looking faded and accidental. You really need that deep, ink-black intensity for it to read as intentional scene makeup rather than just a messy smudge. Don’t be shy—really pack that shadow on.
Another major slip-up is forgetting to lock everything down. Because you are using so much heavy product, all that hard work will literally slide down your face and end up under your eyes by lunchtime if you skip a high-performance setting spray.
Also, you want to watch out for harsh, abrupt lines where they don’t belong. The outer edges of your shadow should be beautifully smudged and smoothly blended, not cut off sharply—unless, of course, you are intentionally going for a specific graphic liner look. I always remind myself to blend that black shadow gently up toward the brow bone. Leaving a sharp, blocky line where the black just completely stops looks unfinished.
Adding Color to Your Look: Choosing Your Palette
The color choices are where I have the most fun because it lets you customize the look to match your personal style. While traditional scene makeup colors lean heavily on classic mid-2000s neons—like hot pink, electric blue, bright purple, and lime green—honestly, any vivid, vibrant shade will work. The ultimate goal here is to create a striking contrast against all that heavy black.
When I’m deciding where to place these colors for maximum impact, I look for spots that will stand out the most. Placing your inner corner highlights in a bright neon pink or a sharp electric blue really catches the light and frames the eyes. Alternatively, I love to apply a bold wash of color across the entire lid first, right before going back in to build up the dark, smoky black edges.
| Color Choice | Best Placement | Vibe Created |
| Hot pink | Inner corner, crease | Playful, feminine |
| Electric blue | Lid, lower lash line | Cool, edgy |
| Neon green | Accent line, inner corner | Bold, daring |
| Purple | Blended with black | Mysterious, regal |
Some people like to match their eyeshadow to their hair color (scene kids were known for those streaks of color). Others just pick whatever they’re feeling. There’s no wrong answer when creating scene makeup—it’s all about self-expression.
Blending Techniques
Here’s where it gets tricky. You want your colors to pop, but you don’t want them looking like they’re just sitting on top of your skin with no blending. Use a clean blending brush to soften any harsh edges where your bright color meets the black. But don’t blend so much that the colors get muddy. It’s a delicate balance.
Pro tip: Apply your bright colors with a damp brush. This intensifies the pigment and helps it stick better. Then go back with a dry brush to blend the edges. This technique keeps your colors vibrant while still looking intentionally placed rather than sloppy.
Graphic Liner Designs
Classic Winged Liner
While raccoon eyes are the foundation, graphic liner takes it to the next level. The classic scene wing is thick, bold, and extends pretty far out. We’re not talking subtle little flicks—go big.
Start by drawing a line from the outer corner of your eye, angled upward toward your temple. Make it thick right from the start. Then connect that wing back to your lash line, filling in the triangle shape. The goal is a really bold, solid wing that doesn’t taper too much. Keep it chunky.
You can stop there for a classic look, or you can add some embellishments. Double wings (where you add a second wing above the first) are very scenic. Or try adding a pop of color underneath your black wing—like a hot pink liner peeking out from underneath. Your look becomes more interesting when you add these little details.
Creative Variations to Level Up Your Look
Once you have mastered the basic wing, you can start experimenting with more creative designs. Geometric shapes were absolutely massive in classic scene makeup—think sharp triangles, hand-drawn stars, or zigzag patterns extending directly out from your wing. You don’t need to be a professional makeup artist to pull these off; I often use a tiny strip of regular tape as a guide when I need help keeping my lines perfectly straight.
Popular Graphic Liner Ideas
- Double or triple stacked wings for an elongated, dramatic look.
- Cute heart shapes or star designs stamped at the outer corner.
- Lightning bolt patterns cutting through the neon shadow.
- Checkerboard designs running along the upper lid.
- A “dripping” liquid effect drawn directly under the lower lash line.
Some of my favorite creators even draw little custom designs like X’s or mini constellations around their cheekbones. This was an absolute staple on MySpace profiles back in the day. Don’t be afraid to get creative—the weirder and more personalized you make it, the more authentically “scene” it feels.
Making the Look Wearable for Real Life
Toning It Down for Daily Wear
I get it—not everyone wants to wear full raccoon eyes to work, school, or the grocery store. The good news is you can easily adapt this style to be more wearable while keeping that alternative edge. When I want a toned-down version, I use the same placement techniques but with much less intensity. Instead of completely circling my entire eye, I’ll just do a thick upper liner and a small, smudged amount on the lower lash line.
You can also swap out stark black for a rich dark brown or charcoal gray for a softer, day-friendly gradient. And instead of screaming neons, I like to try slightly more muted versions—like a dusty rose instead of a blinding hot pink.
Adapting for Different Occasions
This style is incredibly versatile if you know how to dial it up or down. For professional settings, I recommend keeping it minimal—maybe just a clean, subtle wing with a tiny hint of color on the inner corner. But for concerts, festivals, or parties? That is your cue to go all out with full raccoon eyes, heavy body glitter, and crazy graphic liner designs.
Maintaining Your Look All Day and Night
To maintain the scene makeup look, after I finish blending my eye shadows, I lightly dust a translucent powder over the perimeter of the look. This sets the creamier eyeshadow products and prevents creasing. Then comes the mandatory setting spray—I hold the bottle about 10 inches away from my face, spray in an “X” pattern, and make sure not to touch my face until it is completely dry.
My Holy Grail Long-Wear Tips
- Always use an eye primer as your gripping base.
- Set liquid or gel eyeliner with a matching powder shadow.
- Stick exclusively to waterproof eyeliners to prevent bleeding.
- Lock it in: A heavy-duty setting spray is absolutely mandatory.
- Keep touch-up powder and blotting papers in your bag for midday oil control.
For your actual eyeliner, ensure you are using highly durable formulas. I find that gel liners tend to last much longer than traditional pencils, and liquid liners are even more budge-proof once they fully dry down.
Scene Makeup Through the Years
The MySpace Era (2005–2009)
Regarding scene makeup, this looked really hit its absolute peak during the mid-to-late 2000s. I remember everyone taking photos with their digital cameras held high above their heads, posting them online with captions full of hearts and music lyrics. Back then, the makeup was delightfully chaotic and intense—thick black liner, unblended neons, and those iconic, ultra-high selfie angles.
The Modern Revival
Fast forward to today, and the aesthetic is having a massive comeback across TikTok and Instagram. Today’s modern version tends to look a bit more polished and seamless thanks to better product formulations, while still proudly maintaining that bold, alternative heart. I love seeing how people are mixing classic scene elements into modern beauty trends—like adding a scene-style graphic wing over an otherwise natural, glowing face.
Removing Heavy Alternative Makeup Properly
Getting all that heavy black pigment off your face requires a gentle but strategic approach. Please don’t just aggressively scrub at your eyes with regular soap—that will only irritate your skin and pull on your lashes. In my routine, I always rely on oil-based makeup removers or cleansing balms. These are incredible because they naturally dissolve even the most stubborn waterproof liners without any harsh tugging.
I like to apply the remover to a soft cotton pad and hold it flat over my closed eye for about 20 full seconds. This gives the oil time to break down the heavy layers of makeup. Then, I gently wipe away, moving out in the natural direction of my lashes. Once the pad comes away clean, I follow up with my regular water-based facial cleanser to wash away any leftover residue.
Finally, make sure to moisturize thoroughly! Piling on this much makeup can be quite drying, so your skin needs some serious TLC afterward. I highly recommend using a rich eye cream to keep the delicate skin around your eyes healthy, especially if you love rocking scene makeup on a regular basis.
Conclusion
This aesthetic might have started as a nostalgic 2000s trend, but it has proven itself to be way more than just a passing phase. Whether you are going full raccoon eyes for a concert or just adding a small pop of neon to your everyday routine, scene makeup gives you the absolute freedom to express yourself boldly and unapologetically.
The best part of scene makeup? There’s no wrong way. The whole point is creative expression. If you want to add purple instead of pink, or skip the graphic liner entirely, go for it. Make it your own. The kids who invented this look were all about breaking rules—so honor that spirit by experimenting until you find what makes you feel most like yourself.
So grab that black eyeliner, pick your favorite bright color, and start playing around. Watch some tutorials, practice in your mirror, and don’t worry if it doesn’t look perfect the first time. This style is supposed to be a little messy, a little rebellious, and totally unapologetic. Own it.
Frequently Asked Questions
Q1: Is scene makeup the same as emo makeup?
Not exactly. While they share some similarities (both use lots of black liner), scene makeup incorporates way more color—bright pinks, blues, and greens. Emo makeup tends to be darker and more monochromatic, focusing mostly on blacks with maybe some red or burgundy. The scene also tends to be more playful and bold, while emo is more somber and emotional in its aesthetic.
Q2: What’s the best eyeliner for creating scene makeup?
Gel eyeliners work great for scene makeup because they’re super pigmented, blend easily when you want them to, and stay put once they’ve set. Look for waterproof formulas. Some popular options include gel pot liners that you apply with a brush, or pencil liners that are creamy enough to smudge but then set to last all day.
Q3: How do I make my scene makeup last all day?
Start with a good eye primer, use waterproof products, set everything with translucent powder, and finish with a setting spray. These steps are non-negotiable if you want your look to last. Also, avoid touching your face throughout the day, and keep some blotting papers handy if you have oily skin.
Q4: Can I wear scene makeup to school or work?
It depends on your environment, but you can definitely create more wearable versions of scene makeup. Tone down the intensity by using less product, swap bright neons for muted colors, and keep your graphic liner simple. A thick winged liner with just a hint of color can give you that alternative vibe without being too dramatic for conservative settings.
Q5: What are “raccoon eyes” in scene makeup?
Raccoon eyes are the signature technique in scene makeup where you line your entire eye (top and bottom waterlines) with black eyeliner, then smoke it out with black eyeshadow to create that dark, dramatic look around your whole eye. The effect resembles a raccoon’s natural markings, hence the name. It’s intentionally messy and bold, creating maximum impact and drama.
You can visit our other articles;